Showing posts with label High Key Portrait. Show all posts
Monday, November 1, 2010
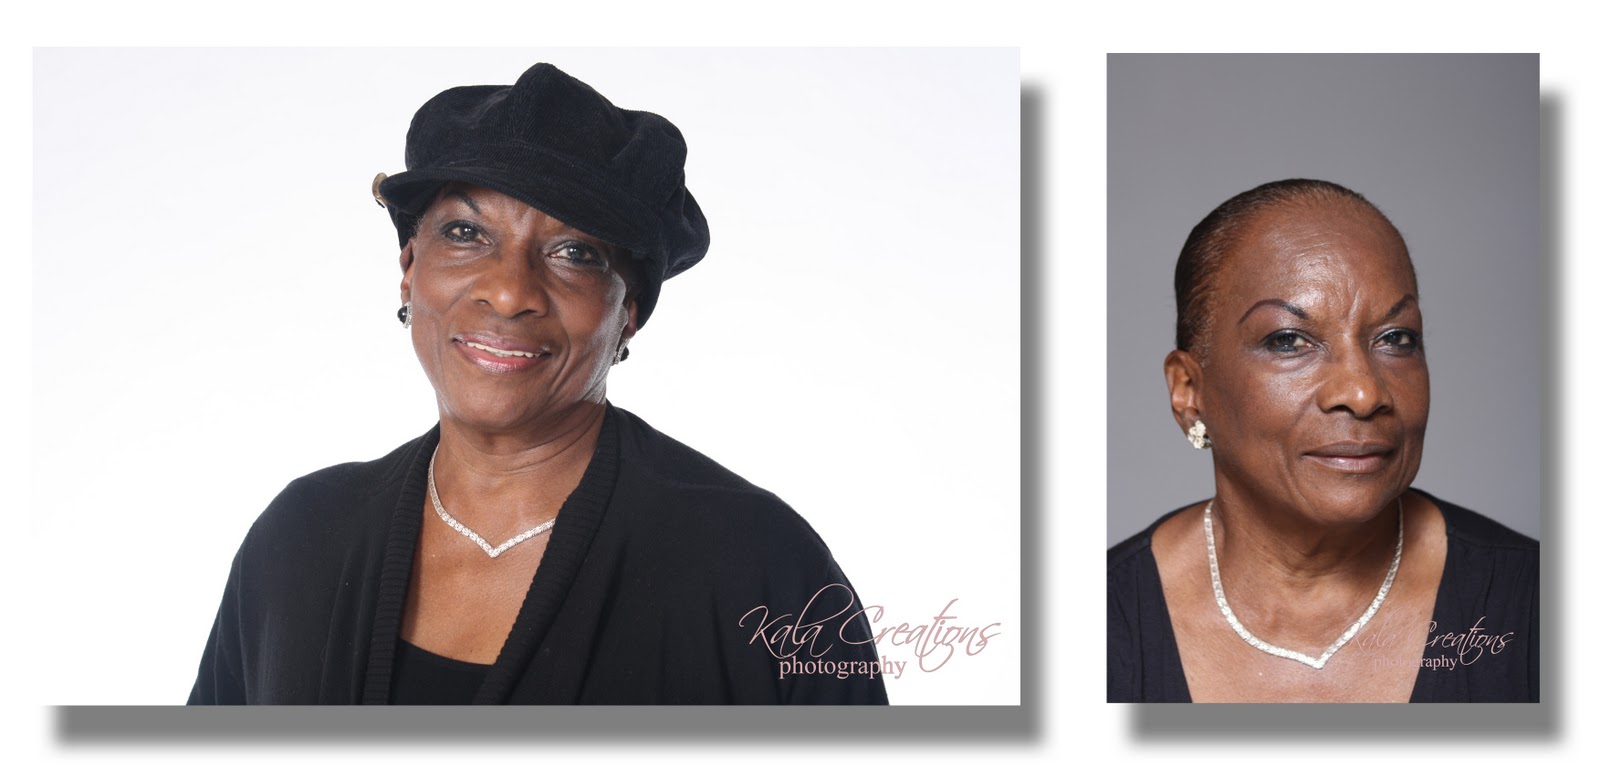
More High Key Portraits......Mrs. Taylor
Sunday, October 31, 2010
Halloween 2010...high key portraits
I finally got back into my studio (with some very active models) and put some of my new found knowledge to the test. Prior to the shoot I had a lot of fun testing out the lights alone and with a fellow photography enthusiast. By the way, I now have two background lights which makes full length portraits a little bit easier to take as I don't have that one light in the middle anymore. My goal was to have my main and fill light ratios to be a 3:1 ratio with my background lights at 11.5 (it should have been at 13.5 which is 1.5 stops hotter than the main light of f 8.0 - this would have ensured a pure white high key background) which resulted in the following set up:
background lights: 11.5
main light: 8.0
fill light: 4.8
Because my background lights were not as hot as they should have been the background was a little underexposed causing the picture to look a little grey around the edges. Normally, I would fix this in photoshop but I used thrifty white tile board on the floor to get to reflection from my subject's feet and I do not want to get rid of this. Below, are the results of the above settings:
background lights: 11.5
main light: 8.0
fill light: 4.8
Because my background lights were not as hot as they should have been the background was a little underexposed causing the picture to look a little grey around the edges. Normally, I would fix this in photoshop but I used thrifty white tile board on the floor to get to reflection from my subject's feet and I do not want to get rid of this. Below, are the results of the above settings:
Monday, October 4, 2010
The Karate Kid...Randy III
On 09/30/2010 I was also able to take some high key pictures of my son in his karate suit with his new GOLD belt. This was one of the easiest shot of my son as he was able to do something he loved in front of the camera. I didn't have to give him any direction for this photo shoot......... I hope you enjoy this pictures as much as I enjoyed taking them.
![]() |
| **Next time, a darker background** |
Friday, October 1, 2010
09/30/2010 Photoshoot - Randy Jr (high key portraits)
Yesterday, 09/30/2010 I was finally able to take some pictures of my husband and he was very enthusiastic about sitting for me. He did a wardrobe change and added his own props. Once again, I took some high key portraits because I want to make sure I've "perfected" this method before I move on to low key portraits with various backgrounds. The below pictures were ran through photoshop a little so that the white background was nice and bright and not muddy. This discoloration was caused by the f stop on the background light being to high (f11.7 which is >2stops higher than the main light) causing it to be overexposed and the light fell off into the foreground. Therefore, I need to use less power on the background (decrease the fstop). On my next shoot I am going to try f8 which is only 1stop higher than the main light (f5.6).
The first group of pictures were "professional headshots" of Dr. Taylor done on a high key background. These pictures would be posted under the "Headshots" category.
The second group of pictures have a more casual tone....These pcitures would be posted under "Lifestyle - Living Life" category. Introducing the DISTINGUISHED GENTLEMAN...Mr. Taylor.
The first group of pictures were "professional headshots" of Dr. Taylor done on a high key background. These pictures would be posted under the "Headshots" category.
The second group of pictures have a more casual tone....These pcitures would be posted under "Lifestyle - Living Life" category. Introducing the DISTINGUISHED GENTLEMAN...Mr. Taylor.
Once again, thank you for following my blog!
Sunday, September 19, 2010
A Princess' Photo Shoot (09/14/2010)
I finally finished editing the pictures from the princess who turned 3. I didn't have to do a lot of editing put I had to go through a lot of pictures as I took over 200 photos. Overall, I am pleased with the outcome and I am thankful for the opportunity to take pictures of such a beautiful little girl. Below are the pictures and a card that was made.
The below pictures were shot using high key lighting. This lighting scenario gives a clean and simple image and requires 4-5 lights (1 fill light, 1 key light, 1 hair light and 2 background lights). I was able to shoot these high key portraits using only one background light. The downfall of using one background light is that it is in the middle of the set up and can be seen in the picture if you don't have props to go in front. This is where photoshop comes in as I was able to photoshop the background light out of the final pictures when necessary.
I took the following steps when taking these pictures.
1. Set the lights up with a 3:1 ratio (f 5.6 : f3.5)where the key light is 3x more powerful than the fill light. The background light was set at f11 (at least two stops higher than the key light). I used a Sekonic light meter to ensure the lights were set up properly.
2. I used a photovision calibration target to ensure that I had a good white balance.
Finally, I had FUN, FUN, FUN taking pictures of the little Princess.
The below pictures were shot using high key lighting. This lighting scenario gives a clean and simple image and requires 4-5 lights (1 fill light, 1 key light, 1 hair light and 2 background lights). I was able to shoot these high key portraits using only one background light. The downfall of using one background light is that it is in the middle of the set up and can be seen in the picture if you don't have props to go in front. This is where photoshop comes in as I was able to photoshop the background light out of the final pictures when necessary.
I took the following steps when taking these pictures.
1. Set the lights up with a 3:1 ratio (f 5.6 : f3.5)where the key light is 3x more powerful than the fill light. The background light was set at f11 (at least two stops higher than the key light). I used a Sekonic light meter to ensure the lights were set up properly.
2. I used a photovision calibration target to ensure that I had a good white balance.
Finally, I had FUN, FUN, FUN taking pictures of the little Princess.
Subscribe to:
Posts (Atom)